Seriously CURIOUS!
Nightlight: Stage 4
1) This stage of the nightlight build is to get your LED to use different levels of brightness depending on how dark it is. Up until now you’ve programmed the LED to either turn on or off, but now we want it to turn on just a little bit if it’s only a little bit dark, and turn on a lot if it’s really dark. This step does not require any additional hardware, and just some different code to get it to send a signal of varying strength to the LED depending on the amount of light the LDR is sensing.
2) Replace the existing code with the code below in the Arduino software. Replace the number in (light_reading < 985) with the number you used in Stage 3. Now change the number '850' used in the line “else if (light_reading < 850)” to a lower number than your input for light_reading < __ from Stage 3. You may need to experiment using the Serial Monitor to find the best number.
int LED_Pin = 3; //change to the pin your LED is connected to
int LDR_Pin = A1; //change to the pin your LDR is connected to
int light_reading;

void setup() {
    pinMode(LED_Pin, OUTPUT);
    pinMode(LDR_Pin, INPUT);
    Serial.begin(9600);
}

void loop() {
    light_reading = analogRead(LDR_Pin);
    Serial.println(light_reading); //displays the light reading value
    if(light_reading < 985) { //change to your light value in normal conditions
        analogWrite(LED_Pin, 250); // sets the LED brightnesss
    } else if (light_reading < 850) { //change to your light value in low conditions
        analogWrite(LED_Pin, 100); // sets the LED brightnesss
    } else digitalWrite(LED_Pin, LOW); //turns LED off
    delay(500);
}
3) Using the software, go Sketch > Verify/Compile to compile the code and save it as “nightlight.ino”. Next go Sketch > Upload to send it to your Arduino board. Once this has been completed, and program should return “Done uploading.”
4) You should now have a fully operational nightlight which changes the brightness of the LED as the LDR measures differing amounts of light. Using the Serial Monitor, test that the brightness of the LED changes when the light levels change around the values you have set in your code.
5) By adjusting the value in the lines “analogWrite(LED_Pin, 250)” you can adjust the brightness of the LED. Any value between 1 and 256 can be used. Experiment with different levels of brightness. You can also choose to have the light brighter in low light levels - it is up to you - you are in control!
More cool THINGS
- Add a third level of brightness into your code
- Set a time(delay) for the light to turn on or off
- Add a alarm to sound after a set time period of the light being on

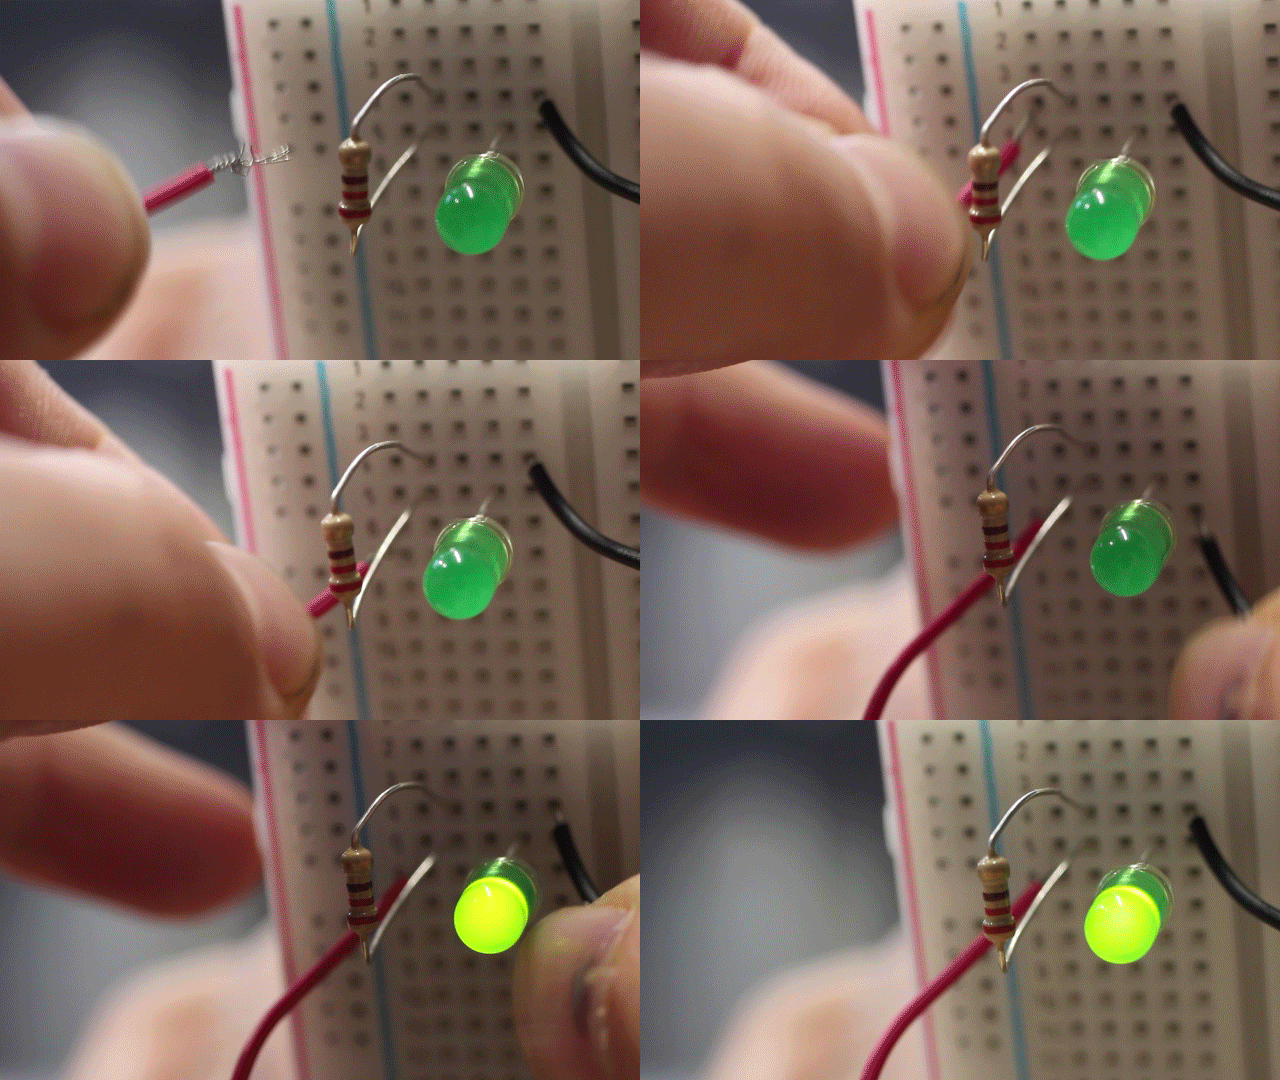
Can you work out how the circuit is being changed in this animation that makes the green LED turn yellow?
Nice work! You have finished!
